Your shopper arrives via a creator's GoAffPro affiliate link. They land on your store, add items to cart, and hit checkout, only to be met with generic, brand-only messaging. No mention of the creator who sent them. No special offer tied to their arrival. No continuation of the creator experience they just had on the landing page. That's friction. That's lost money.
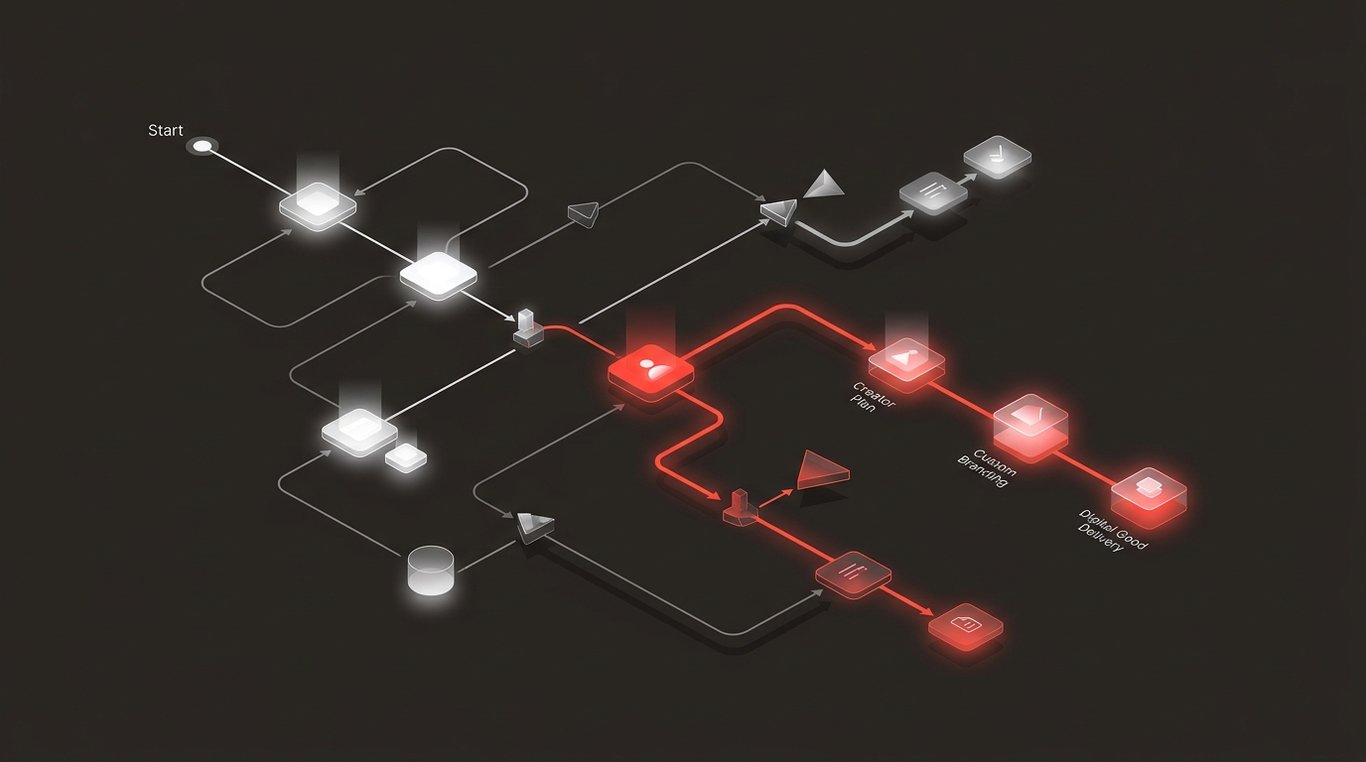
Shopify Checkout Blocks (available on Shopify Plus) change the game. Combined with CreatorCommerce, a Shopify-native platform that builds co-branded creator storefronts on a brand's own domain, you can now create conditional checkout experiences tied directly to GoAffPro referral traffic. When a shopper arrives via a creator's link, CreatorCommerce writes cart attributes (cc-creator-id, cc-creator-handle, cc-shop-id) that travel through checkout. Shopify Checkout Blocks then reads those attributes and renders creator-specific content: a thank-you message from the creator, bundled upsells, trust badges, or exclusive offers.
This is how you turn affiliate checkouts from a point of friction into a point of differentiation.
What Are Shopify Checkout Blocks, and Why Do They Matter for Affiliates?
Checkout Blocks are a Shopify Plus feature that lets you inject custom content (text, images, HTML) directly into the checkout experience. Unlike apps that rely on JavaScript overlays or post-purchase redirects, Checkout Blocks render natively in Shopify's checkout: they're fast, they're reliable, and they respect the checkout's locked-down security model.
More importantly for affiliate programs: Checkout Blocks can be conditional. You can target specific shoppers based on cart attributes, line items, customer tags, or source.
When CreatorCommerce writes cc-creator-id to the cart, Shopify Checkout Blocks can detect it. That's your signal to activate creator-specific checkout content. The same shopper who landed on a co-branded creator storefront (powered by CreatorCommerce) now sees creator-aligned messaging at checkout, reinforcing trust, encouraging larger baskets, and creating a reason for GoAffPro affiliates to double down on their traffic quality.
How Do You Set Up Creator-Conditional Checkout Blocks?
The setup is straightforward, but it requires coordination between three layers: CreatorCommerce integration, GoAffPro configuration, and Shopify Checkout Blocks.
Step 1: Enable the CreatorCommerce-GoAffPro Integration
First, sync CreatorCommerce with GoAffPro so that affiliate relationships are reflected in the storefronts you create. See the help center guide on enabling the GoAffPro integration for detailed instructions. In short: you'll authenticate GoAffPro in the CreatorCommerce dashboard, which lets CreatorCommerce pull your affiliate roster and auto-assign storefronts to the right creators.
Once this is live, every GoAffPro affiliate who lands a shopper on your site will trigger the cc-creator-id and cc-creator-handle cart attributes.
Step 2: Identify Which Cart Attributes to Target in Checkout Blocks
CreatorCommerce writes three attributes:
cc-creator-id: The unique identifier for the creator/affiliate.cc-creator-handle: The creator's display name or handle.cc-shop-id: The ID of the creator's co-branded storefront.
In Shopify Checkout Blocks, you'll write a condition like: "If cart attribute cc-creator-id is not empty, show this block." This ensures your conditional content only renders for shopper who arrived via a creator link, not generic traffic.
Step 3: Create Your Conditional Checkout Content Block
Log into your Shopify Admin, navigate to Settings > Checkout and customer accounts > Checkout. Under the Checkout Blocks section, you can add a new block and set its condition.
Example condition (Shopify's syntax):
cart.attributes.cc-creator-id != empty
This block will appear only if the cart has a cc-creator-id attribute set.
Step 4: Populate the Block with Creator-Specific Content
Now comes the creative part. You can dynamically reference the creator's name or handle inside the block. Using Shopify Liquid, you might write:
<p>Thanks for shopping with <strong>{{ cart.attributes.cc-creator-handle }}</strong>!</p>
This renders the creator's name in real time. The shopper sees "Thanks for shopping with [Creator Name]!" A small touch that reinforces trust and reminds them they're part of a creator-driven experience.
What Can You Show in Creator Checkout Blocks?
Creator Thank-You Message
The simplest and most effective use case: a personalized message from the creator thanking the shopper for their purchase. This builds on the trust relationship that brought them to your store in the first place. It costs nothing, takes seconds to load, and deepens the emotional connection.
Creator-Curated Bundles or Upsells
If a creator has a signature product bundle (e.g., their "Favorite 3-Item Bundle" or "My Wellness Stack"), you can surface it in checkout as a post-purchase upsell. The creator's curation carries weight: shoppers who trust the creator are more likely to add the bundle than if you just showed a generic recommendation.
Example: Buttah Skin saw 30% higher CVR and 78% higher AOV with co-branded landing pages. That lift carries through to checkout: the more context you give the shopper about the creator's choice, the bigger their basket.
Trust Badges and Social Proof
You might show the creator's follower count, verified badge, or a short testimonial alongside the checkout block. This reinforces why the shopper should trust the upsell or offer that's being shown.
Exclusive Creator Offers or Discounts
If you have creator-specific discount codes or percentage-off offers, you can surface them dynamically in checkout, and apply them automatically if the cart attribute is detected. This is cleaner than leaked codes: no friction, full attribution, and the creator feels their traffic is being rewarded.
Creator Community or Loyalty Call-to-Action
Direct newly acquired customers to the creator's Discord, email list, or community. "Join [Creator]'s community for exclusive drops and insider tips." You've paid for the top-of-funnel; the creator can own the retention.
How Does Attribution Flow Through Checkout to GoAffPro Payouts?
Attribution is the backbone of this entire system. Here's the flow:
| Step | What Happens |
|---|---|
| 1. Creator Link Click | Shopper clicks a creator's GoAffPro referral link (or lands on the creator's co-branded CreatorCommerce storefront). |
| 2. Cart Attributes Written | CreatorCommerce detects the referral and writes cc-creator-id, cc-creator-handle, and cc-shop-id to the shopper's cart. |
| 3. Checkout Blocks Render | Shopify detects the cart attributes and activates your conditional Checkout Blocks. Creator-specific messaging and offers appear. |
| 4. Purchase Completes | Shopper completes checkout. Shopify converts cart attributes to order tags and fulfillment metadata. |
| 5. GoAffPro Recognizes Sale | CreatorCommerce syncs the order tags back to GoAffPro (via Zapier, native integration, or webhook). GoAffPro records the sale against the creator's affiliate ID. |
| 6. Commission Calculates & Pays | GoAffPro calculates the commission based on your payout rules and schedules payment (weekly, monthly, etc.). |
The key point: even though the checkout experience is personalized, the underlying attribution chain remains intact. The creator gets credit for the sale, and GoAffPro knows exactly which affiliate drove the conversion.
This is why conditional checkout blocks work so well for affiliate programs. You're improving the UX for the shopper and creating a better incentive structure for the creator, because the personalized checkout proves their traffic is being recognized and valued.
Common Mistakes to Avoid
1. Forgetting to Enable the GoAffPro Integration First
If CreatorCommerce and GoAffPro aren't synced, cc-creator-id won't be written to the cart. Your checkout blocks will never trigger. Always start with the integration.
2. Using Hardcoded Creator Names Instead of Dynamic Liquid
Don't hard-code "Thanks for shopping with Sarah!" into the block. Use Liquid to reference cart.attributes.cc-creator-handle so it works for every creator. Mistakes here will show the wrong creator's name to the wrong shopper.
3. Showing Checkout Blocks to Non-Creator Traffic
If you forget the conditional, your block will show to all shoppers, not just creator-referred ones. This dilutes the message and wastes space. Always include the condition: "If cc-creator-id is not empty."
4. Overloading the Checkout with Too Many Blocks
Checkout is a high-intent moment. Too many offers or messages will distract and slow conversion. Stick to 1-2 blocks: maybe a thank-you message and one upsell bundle. Quality over quantity.
5. Not Testing the Attribution Chain
Set up test orders using creator links and verify that the cc-creator-id attribute is written, the checkout block renders, and the order tag appears in Shopify. Then check that GoAffPro logs the sale correctly. Don't go live without this.
Why This Matters for Growth
Personalizing checkout for creator traffic addresses a gap that most brands miss. You invest in creator acquisition, but the checkout experience is generic. Conditional Checkout Blocks flip that: they prove to the creator that their traffic is being treated differently, that you respect the audience they've built and the trust they've earned.
The numbers bear this out. Cozy Earth saw 214% higher CVR and 67.37% higher AOV after switching to co-branded creator experiences. Healf drove a 40.8% CVR lift with creator-curated storefronts. Buttah Skin achieved 30% higher CVR and 78% higher AOV on co-branded pages. These aren't small numbers; they all share one thing in common: the entire journey, from landing page to checkout, reinforces the creator connection.
Related Articles
- What Is a Co-Branded Landing Page (and Why Does It Convert Better Than a Standard Affiliate Link)?
- Announcing support for Shopify Checkout Blocks
- GoAffPro for International Affiliate Programs: Shopify Markets Strategy
- Simple Affiliate + CreatorCommerce: Conversion Machine
FAQ
Do I need Shopify Plus to use Checkout Blocks?
Yes. Checkout Blocks are a Shopify Plus-only feature. If you're on a lower tier, you can't use them. However, you can still use CreatorCommerce to build co-branded storefronts; the conditional checkout experience just won't be available.
What if a shopper arrives via a GoAffPro link but doesn't use my CreatorCommerce storefront?
If they land on your main site (not a creator storefront), CreatorCommerce won't write the cart attributes. To capture those shoppers, you'd need to either: (a) direct all GoAffPro traffic through creator storefronts, or (b) use a separate UTM-based or cookie-based tracking system to identify affiliate traffic. The cleanest path is option (a): embed creator storefronts as the primary entry point for affiliate traffic.
Can I use a different cart attribute system instead of CreatorCommerce?
Technically, yes, any system that writes recognizable cart attributes to Shopify will work with Checkout Blocks. But CreatorCommerce is purpose-built for this workflow, and it handles the entire co-branded storefront experience, not just the cart attributes. Mixing systems increases complexity and debugging overhead. It's cleaner to use CreatorCommerce end-to-end.
How do I test if my Checkout Blocks are working?
Use a test creator account in your GoAffPro setup. Click the affiliate link, add items to cart, and inspect the cart attributes using your Shopify Admin or a browser console tool. If cc-creator-id is present, your block should render. If it doesn't, check the Checkout Blocks condition syntax in Shopify.
Can I update checkout content without touching the block condition?
Yes. Once the block and its condition are set, you can edit the block's content (text, images, call-to-action) in the Shopify Admin without touching the condition. This is useful if you want to run A/B tests or seasonal messaging for creator traffic.
What happens if GoAffPro doesn't recognize the order?
This usually means the attribution chain broke somewhere: either the cart attribute wasn't written, or it wasn't synced to GoAffPro via your integration (Zapier, webhook, or native API call). Check your logs and verify that orders are hitting GoAffPro with the correct order tags. If they aren't, troubleshoot the sync layer.
Next Steps
If you're running GoAffPro and you're on Shopify Plus, this is a high-ROI win. The setup takes hours, not days, and the upside (better creator incentives, higher checkout conversion, stronger attribution) is immediate.
Start here:
- Verify you have Shopify Plus and GoAffPro live.
- Enable the CreatorCommerce-GoAffPro integration.
- Plan your checkout block content (creator thank-you message, upsell bundle, etc.).
- Build and test the checkout block in Shopify.
- Monitor order attribution for the first few weeks to confirm everything is working.
If you need guidance on structuring your affiliate program, choosing the right upsells, or analyzing the impact of personalized checkout, book a demo with CreatorCommerce. Our team has helped dozens of brands grow affiliate revenue through creator co-branding, and we can help you too.
Related Reading
- How to Enable the GoAffPro Integration - CreatorCommerce Help Center
- CreatorCommerce Platform Overview. Learn how creator co-branded storefronts work end-to-end.
- Shopify Plus Documentation on Checkout Blocks: Official Shopify guide for building and conditioning checkout content.


%201.png)
%201.png)