This article links out to additional help articles in order to assist in completing end-to-end integration enablement. Complete each linked article to ensure you've completed setup.
Step 1: Enable the affiliate sync
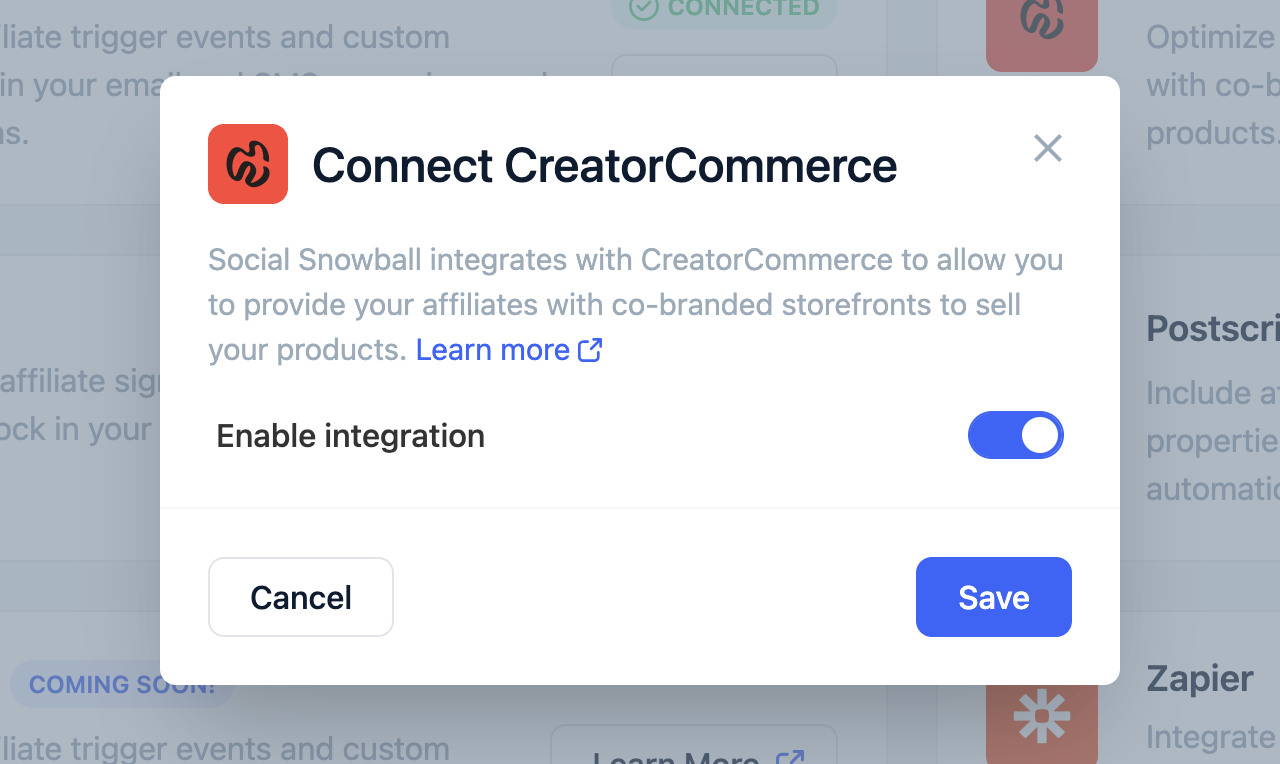
The core outcome of this integration is that your affiliates are being synced with CreatorCommerce. To do this, follow these steps:
- Go to your Social Snowball dashboard
- Go to the 'Integrations' tab
- Click on the CreatorCommerce integration
- Flip the toggle to enabled
- Select 'Save'
As of this moment, the integration is now enabled. However, you'll need to complete a few more steps before you'll be ready to go live with the integration.

Step 2: Review and update your affiliate email flows
Before completing this step, you'll need to setup your CreatorCommerce emails in your email service providers. This task is independent of Social Snowball. To do this, select an finish one of the guides below based on your service provider for email communications:
- Setup your creator communication emails for Klaviyo
- Setup your creator communication emails for SendLane
- Setup your creator communication emails for Mailchimp
Submit a request for the CreatorCommerce team to do this for you by filling out this request form.
Due to the nature of the integration, edits will need to be applied to your existing Social Snowball email communication strategy once your primary flows are setup. Select one of the following guides to complete these tasks for Social Snowball based on your service provider for email communications:
Step 3: Disable the default Social Snowball system emails
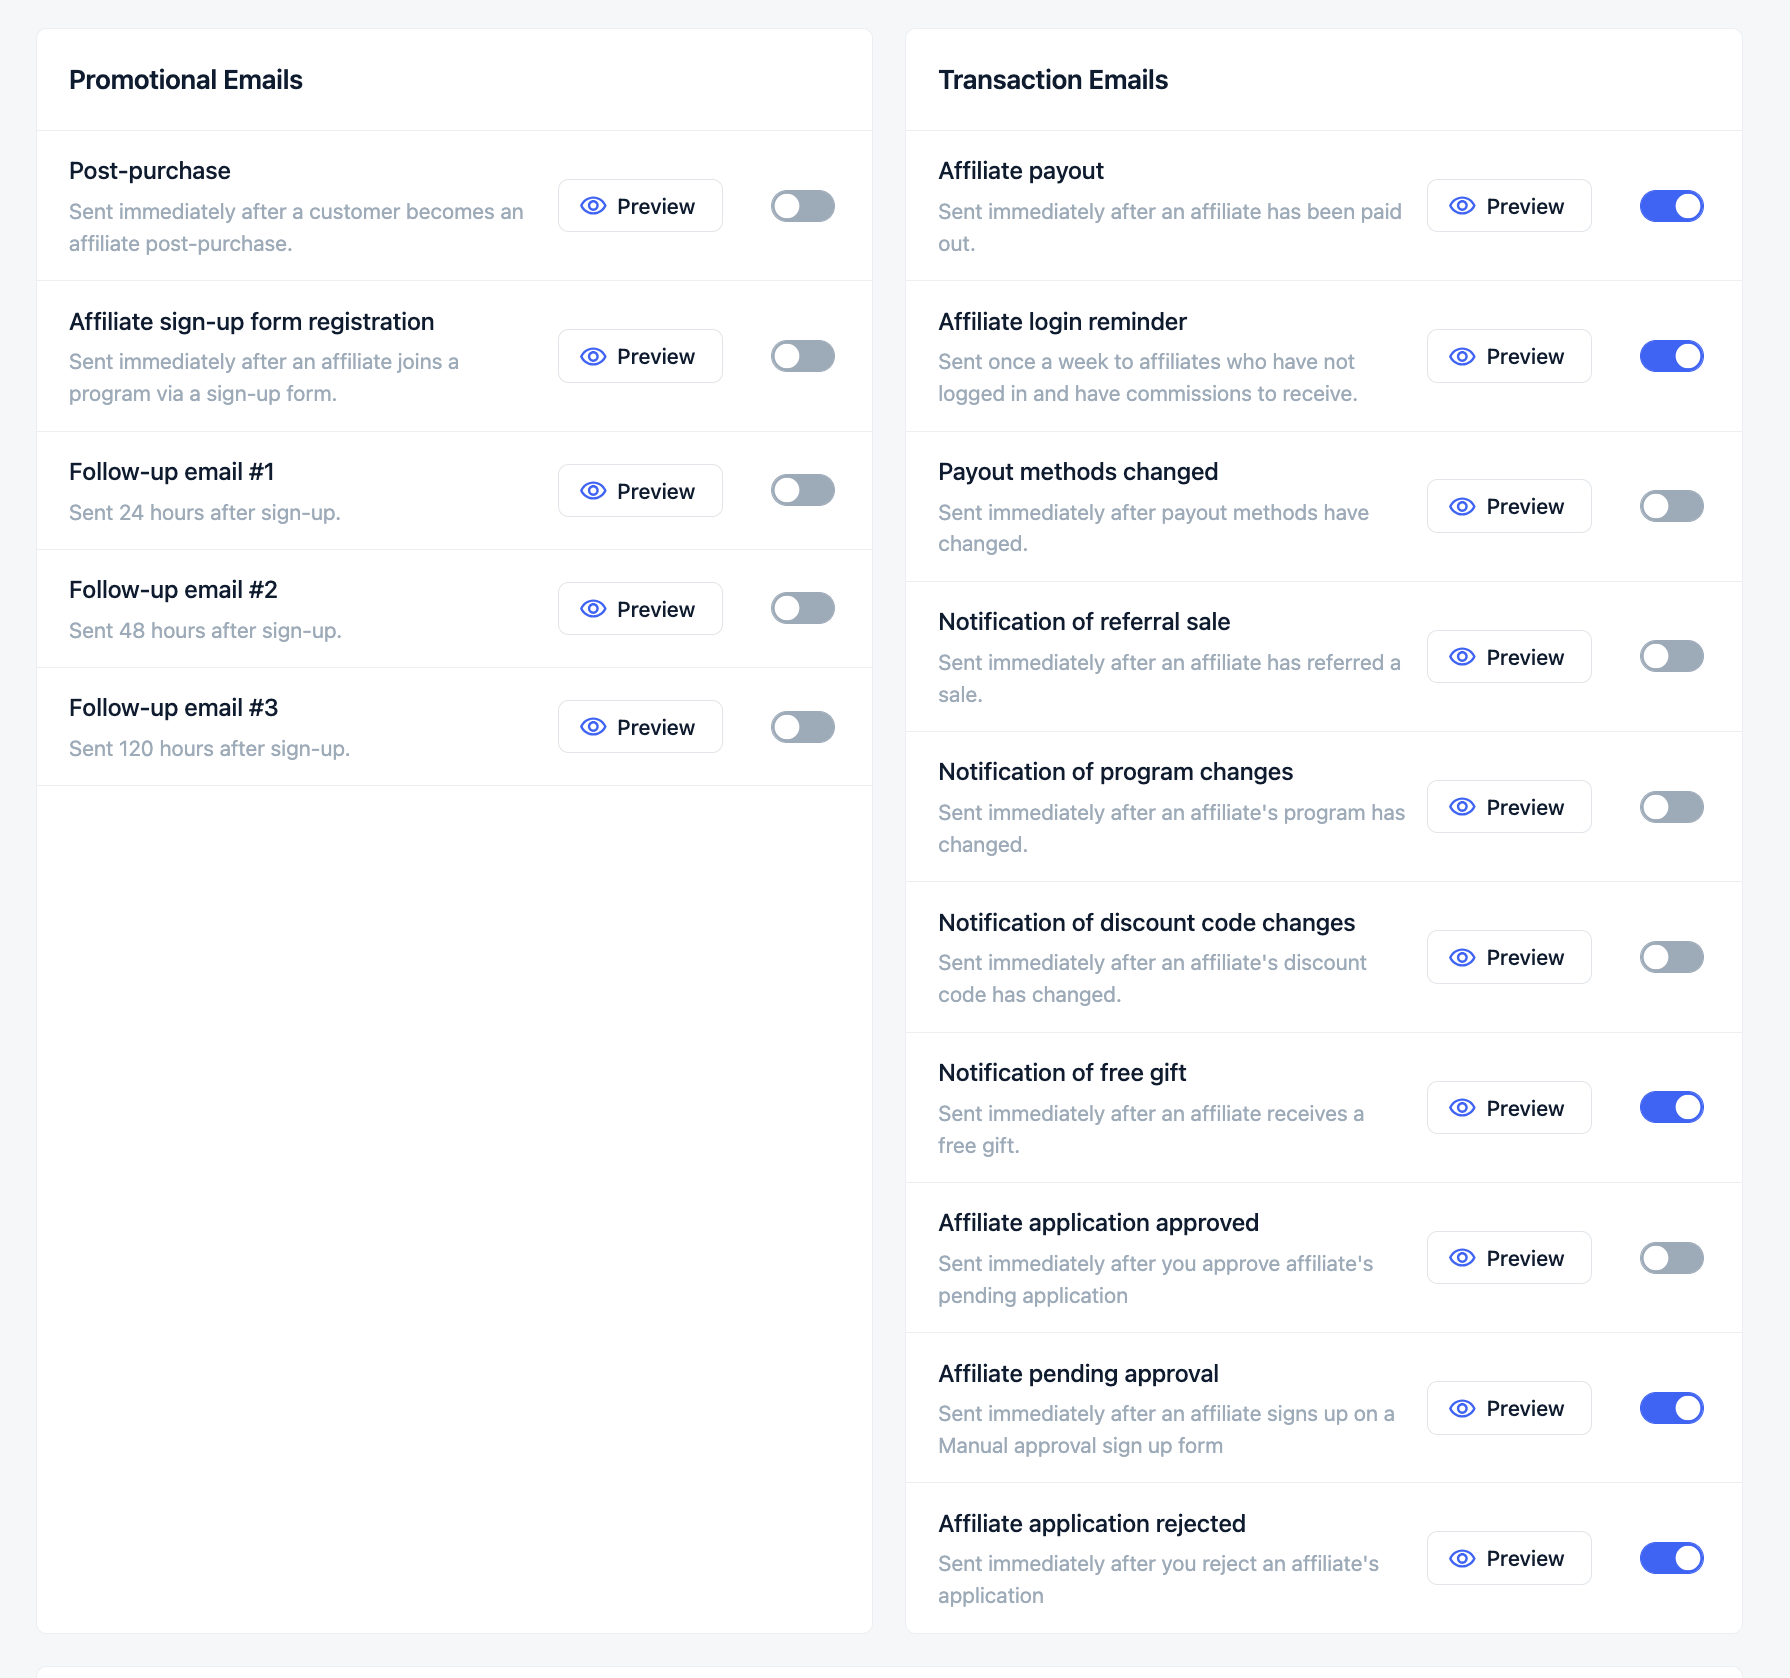
With your own custom emails & invitation flows setup in your email service provider, you'll no longer need Social Snowball to send their default system emails. Leaving these on will lead to affiliates receiving duplicate emails whenever something occurs in Social Snowball (an email from your ESP, and an email from Social Snowball). Follow these steps to turn off the relevant emails in Social Snowball (some of these are okay to remain on, as they do not conflict with your ESP):
- In Social Snowball, go to 'Customize', then click the 'Emails' tab
- Disable the following: Post-purchase, Affiliate sign-up form registration, Follow-up email #1, Follow-up email #2, Follow-up email #3, Payout methods changed, Notification of referral sale, Notification of program changes, Notification of discount code changes, Affiliate application approved
- After seeing the success messages, no further action is needed to save

Step 4: Edit the title of relevant Social Snowball programs to begin invitations
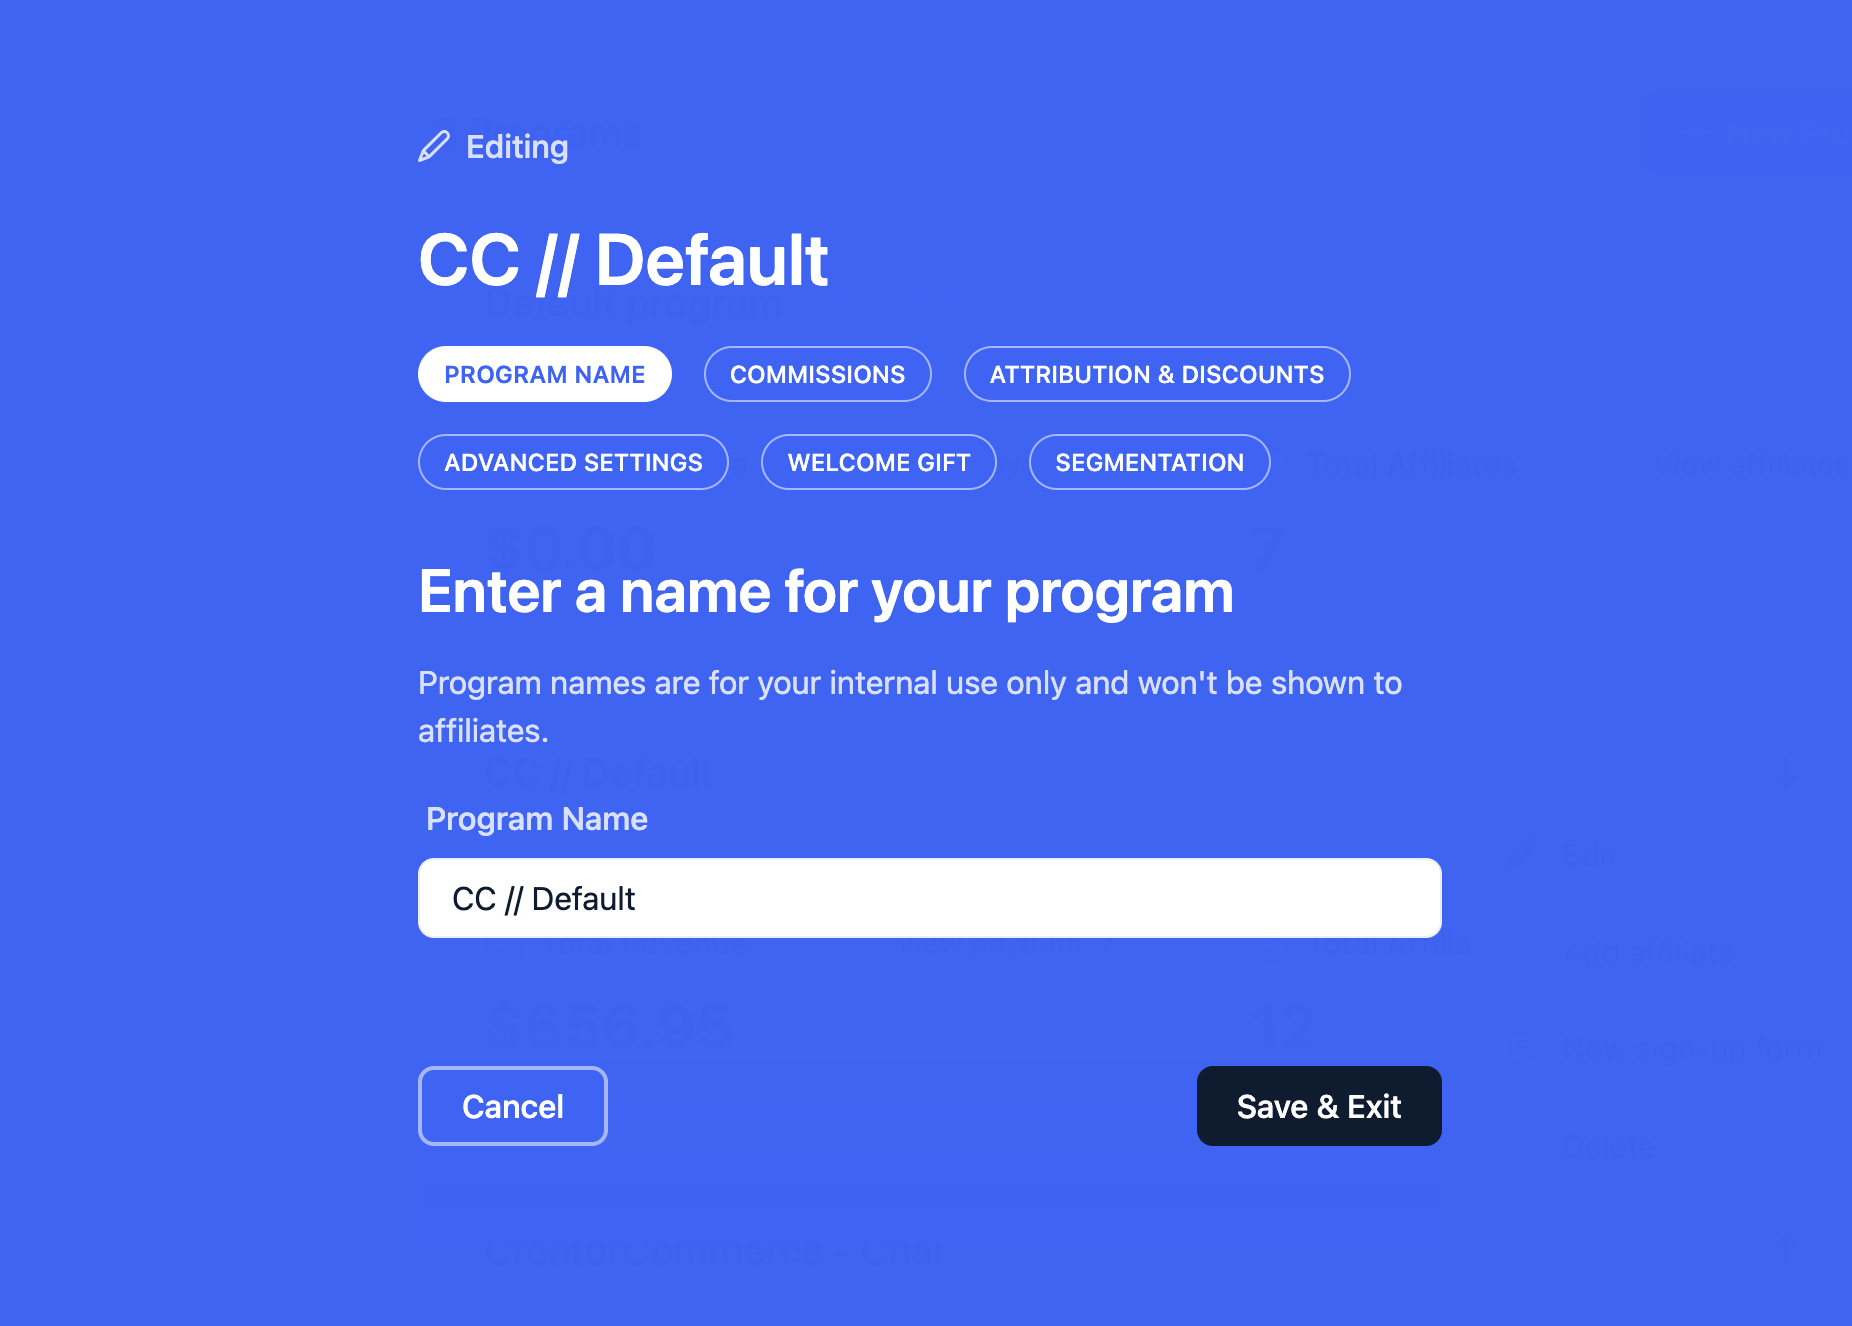
CreatorCommerce will only sync affiliates who are contained within programs with the correct title structure. This ensures that you can control who should receive shops. Follow these steps to do this:
- Go to your Social Snowball dashboard
- Go to the "Programs" tab
- Select to edit a program, or create a new one
- Add "CC // " to the beginning of each relevant program name (Examples: "CC // Primary Affiliates" or "CC // 10% Discounts, 20% Commissions")
- Remember to save your program name changes
Note: You cannot change the name of the "Default Program", you'll need to move affiliates out of that program to another if you wish to issue them shops

Step 5: Go-live
With these steps complete, you should now be live. This means your emails will automatically send whenever you add new affiliates to relevant programs. Additional recommendations at this point are to promote the offering via a manual email campaign to existing customers, on social media, and to let any customer communities know as well.
Want to receive a free go-to-market consultation? Book some time here. The team will take you through strategies and will provide you with additional collateral to support the rollout.


.webp)


%201.png)
%201.png)
